When it comes to upgrading your garage, few things make a bigger impact than installing an epoxy floor. It dramatically transforms the look of your space, and it also offers practical benefits to make your garage more functional and easier to maintain. If you’ve been considering an upgrade, here’s why epoxy floors should be at the top of your list.
The Benefits of Epoxy Garage Floors
Unmatched Durability
Epoxy floors are incredibly durable, making them perfect for high-traffic areas like garages. They are resistant to stains, chemicals, and abrasions, which means they can handle everything from oil spills to dropped tools without showing signs of wear and tear. Unlike bare concrete, an epoxy coating won’t chip or crack easily, so you can enjoy a pristine-looking floor for years to come.
Easy Maintenance
One of the best things about epoxy floors is that they are so easy to clean. The smooth, non-porous surface doesn’t trap dust, dirt, or liquids, which means you can easily sweep or mop up messes. Whether it’s mud, oil, or even salt from winter roads, a quick wipe-down will leave your floor looking like new. This low-maintenance feature is a huge time-saver and keeps your garage looking tidy with minimal effort.
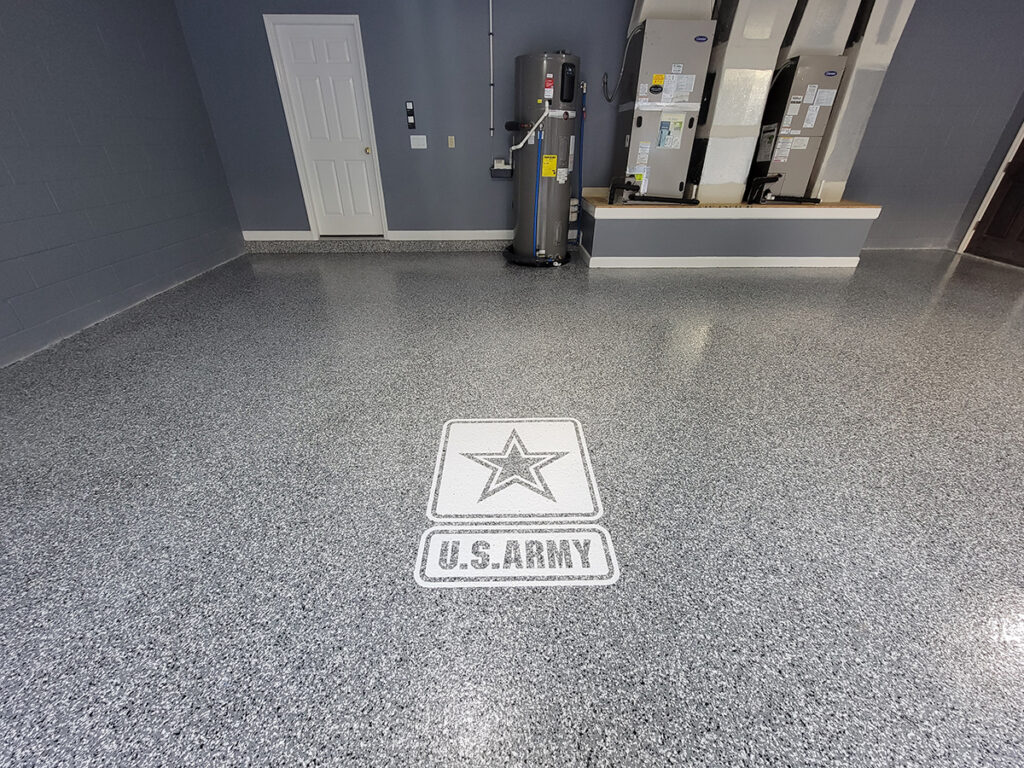
Enhanced Aesthetics
Epoxy flooring can turn a drab garage into a polished, professional-looking space. Available in a variety of colors and finishes, epoxy can be customized to fit your style. You can choose from a high-gloss finish for a sleek, modern look or add decorative flakes for a textured, non-slip surface. Whether you want a bold color that makes a statement or a subtle shade that complements the rest of your home, there’s an epoxy option that’s perfect for you.
The Installation Process: What to Expect
Choosing a Color and Design
The first step in the installation process is selecting the color and finish that suits your style and needs. You can choose from solid colors, metallics, or even multi-colored designs that mimic the look of granite or marble. If you are concerned about safety, consider adding slip-resistant additives to the epoxy for extra grip.
Installation Timeline
Installing an epoxy floor typically takes 2-3 days, depending on the size of your garage and the condition of the existing concrete. The process involves several steps, including surface preparation, applying the epoxy, and allowing each layer to cure. We will first clean and repair any cracks or imperfections in the concrete to ensure a smooth surface. Then, we’ll apply the epoxy in multiple layers, each of which needs time to dry.
You may see promotions for 1-day epoxy jobs. That is technically possible, but there are some caveats: 1) it requires that the existing slab is in perfect condition, and 2) if they apply the minimum of two coats of epoxy, it requires a fairly long day to give the first coat enough time to dry before applying the top coat.
When You Can Walk and Drive on It
After the final layer of epoxy is applied, you’ll need to wait about 24 hours before you can walk on the floor. For heavier traffic, like cars and heavy equipment, it’s best to wait 72 hours to ensure the epoxy is fully cured and ready to handle the load. This brief downtime is a small price to pay for the long-lasting durability and beauty you’ll gain.
Conclusion
Epoxy floors are a fantastic way to enhance your garage, offering durability, easy maintenance, and a customizable aesthetic. With a straightforward installation process and quick curing time, you can transform your garage in just a few days. Whether you’re looking to create a clean, organized workspace or simply want to upgrade the look of your garage, an epoxy floor is a smart investment that will serve you well for years to come.
Ready to give your garage a makeover? Contact DreamCrete today to explore your epoxy flooring options and start your project!